Because most people in the Western world lack that tools, we make use of a slim batter with brush it onto a non-stick pan that’s warmed from below by boiling water. The gear range is different however the result is very similar.
The Stroopwafels are made with 2 slim crispy waffles, stuffed and glued together with an amazing caramel syrup- usually hazelnuts or honey. The best way to eat a stroopwafel is at room temperature or just lightly heated up over a warm mug of tea or coffee.
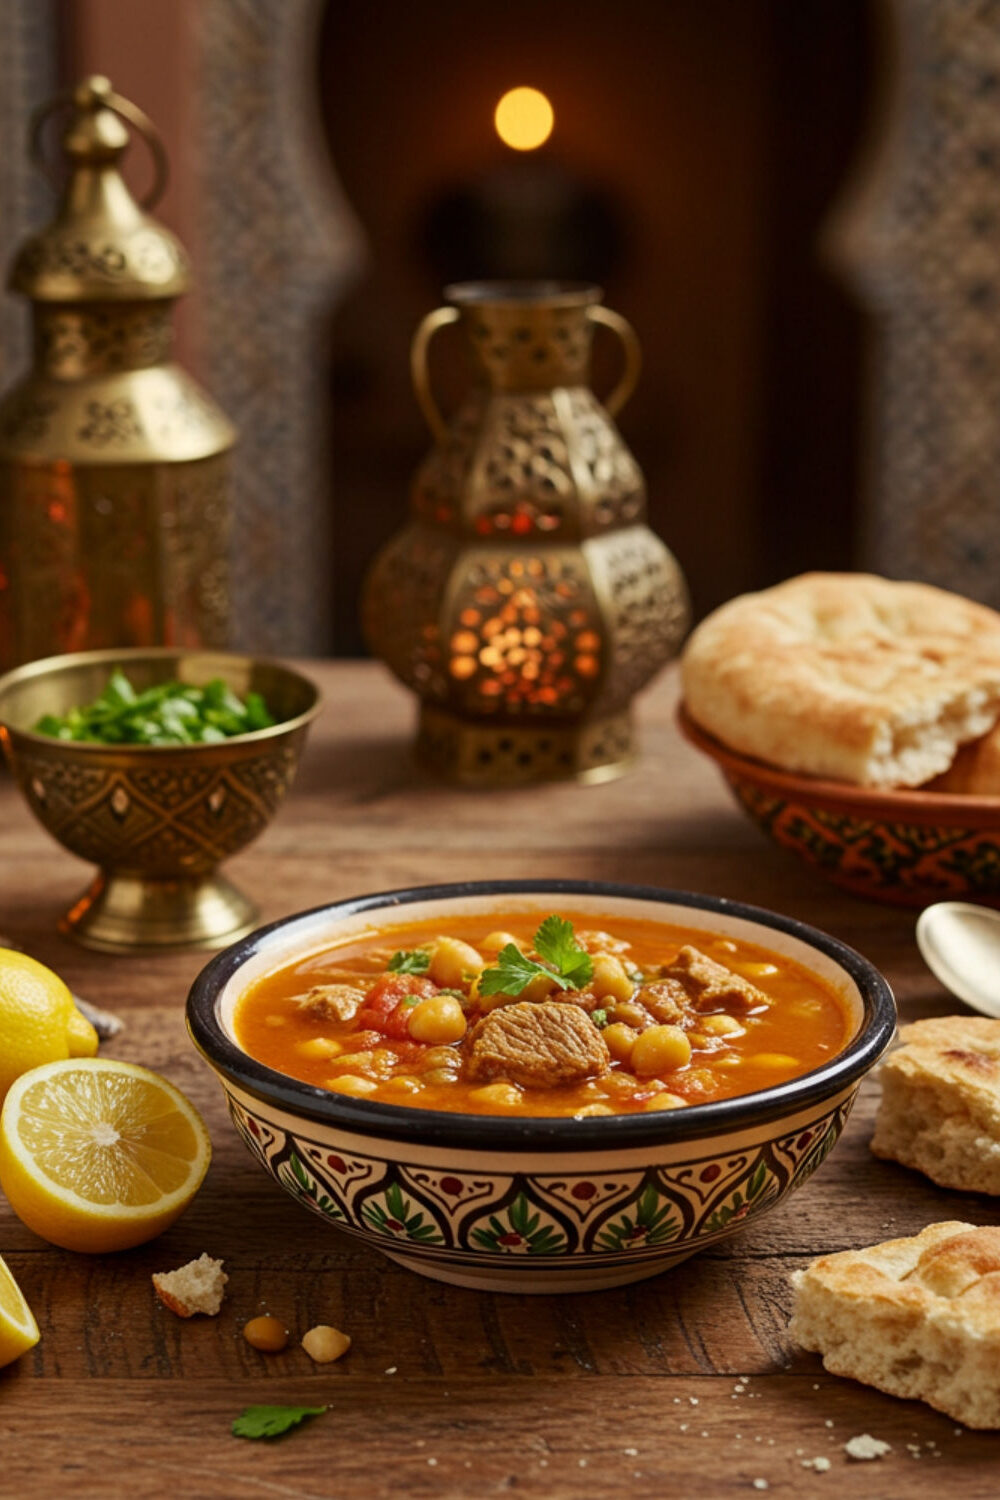
But this recipe will be something different – warqa (warka) stuffed with Moroccan Haroset.
When you use the warka leaves, keep in mind that the shiny side – the cooked side – will always be facing the frying oil, the baking dish or the heat of the oven.
It takes around 5 minutes to make this batter in a food processor and also with training around 2 mins to cook every leaf.
FOR WARKA:
- 8 ounces High-gluten flour
- 1/4 cup all purpose flour or extra fine semolina flour
- 1 teaspoon salt
- 1 3/4 cups water
- 1 tablespoon cider vinegar or lemon juice
- 1 tablespoon extra virgin olive oil for the dough
- 3 tablespoons vegetable oil for brushing the cooked pastry leaves on their shiny side
FOR MOROCCAN HAROSET:
- 8-10 dried, pitted prunes
- 6-9 pitted dates
- 1/4 cup golden raisins
- 1 tsp ground cinnamon
- 1/2 cup almonds
- 4 Tbsp raw honey
- 2-3 Tbsp grape juice or kosher wine (reserve for end)
- sugar (optional)
Preparation Method
How to make Mococcan warqa:
- Mix the dry ingredients in a bowl, the wet in another one, next carefully whisk the two mixtures together. The mixture should be incredibly thin.
- Pour 2-3 inches of water into a Dutch oven or different broad cooking pot and bring it to a boil. Set over it a large non-stick sauté pan or griddle.
- With a brand new nylon or polyester paint brush, brush a layer of the mixture around onto the un-greased area of the pan. While the dough cooks, extremely gently brush or dab mixture onto all bare areas. Let the layer to cook around 2-3 minutes. Once the layer is pale in colour with crisp around the sides, carefully pry up the edge with a spatula and lift the sheet off.
- Put the layer on a cloth and brush it gently with vegetable oil. Clean the pan out and do it once again. Stack up the lubricated sheets, keeping the stack under the towel. Once the mixture is all used, seal up the stack in plastic wrap until ready to use. These will keep – properly covered – in the freezer or fridge for 3-5 days.
Moroccan Haroset – what is it?
Haroset, occasionally spelled charoset, is a paste of fruit with nuts. You can find many different methods it is made, dependent on geography. I’ve found many different variations for a Moroccan style.
The paste made can be left as a paste and just spread on matzoh or eaten with a spoon as well as it can be rolled into balls. I decided on creating the “spring rolls” or “Stroopwafels” in Maroccan Styl by using traditional pastry warqa with haroset filling.
Haroset step by step:
Rolling warqa filed with haroset:
- Put 3 heaped teaspoons of the haroset around an inch from the side of the warqa sheet, on the side nearest to you.
- With the same teaspoon, push the filling flat into the form of a small chocolate bar.
- Fold the side of the warqa closest to you so that it covers the haroset. Ensure that this first flip entirely covers the filling, and pull the side of the fold a little under the filling creating a taut, little parcel.
- Using both your hands, fold the right side of the wrapper to the centre, stopping where the filling is. Repeat it for the left side of the wrapper.
- Continue folding the warqa by using the enclosed haroset and flipping it over until it reaches the end of the wrapper. Ensure there are no loose ends on the warqa sheet.
- And now you have it, prepared to be fried!
FRYING FILLED PASTRIES
The initial frying should be done in oil at around 130°C. Fry for around 30 seconds or just until the pastries are pale golden on all sides. The 2nd frying is done in 190°C oil – fry until the pastries are really crisp and also golden.