If you’re a fan of traditional Scandinavian treats, you’ve likely heard of rosettes – delicate, crispy cookies that are a staple during the Christmas season. While they may look simple to make, many bakers have run into trouble when attempting to create these intricate little cookies. From batter that won’t stick to the iron, to cookies that won’t come off, to batches that turn out greasy instead of crispy, there are a number of challenges that can arise when making rosettes. But fear not – with a few tips and tricks, you can become a rosette-making pro in no time!
Making rosette cookies can be a fun and rewarding experience but can also be frustrating when things don’t go as planned.
From batter consistency to frying temperature, there are many factors that can affect the success of your rosettes.
In this article, we will provide you with tips and tricks to help you make perfect rosette cookies, overcoming all the typical troubles that may arise in the process. So roll up your sleeves, get your rosette iron ready, and let’s start!
Why are my rosettes not sticking to the iron?
There could be a few reasons why your rosettes are not sticking to the iron:
- The batter may be too thin: The batter should be thicker than the pancake batter, but not too thick that it cannot be poured. If the batter is too thin, it will not stick to the iron.
- The iron is not hot enough: The iron should be hot enough before dipping it into the batter. If it is not hot enough, the batter will not stick.
- The iron may not be clean: The iron needs to be clean and free of any oil or grease before using it. If it is not clean, the batter will not stick.
- The batter may be too cold: The batter should be at room temperature before using it. If it is too cold, it will not stick to the iron.
- The iron may not be dipped deep enough into the batter: Make sure to dip the iron deep enough into the batter so that the batter coats the iron completely. If it only partially coats the iron, it may not stick.
- The batter may be overmixed: Overmixing the batter can cause it to become too thin and not stick to the iron. Only mix the batter until it is smooth and no lumps remain.
By addressing these issues, you should be able to get your rosettes to stick to the iron and fry up nicely.
Why are my rosettes not crispy?
If your rosettes are not crispy, there could be a few reasons:
- Oil temperature: The oil may not be hot enough. Make sure the oil is heated to the correct temperature of around 190°C (375°F) before frying the rosettes. If the oil is too cold, the rosettes will absorb too much oil and become soggy.
- Batter consistency: The batter consistency is crucial in making crispy rosettes. The batter should be thick enough to coat the rosette iron evenly but thin enough to create delicate and crispy rosettes. If the batter is too thick, the rosettes will be dense and heavy, and if it is too thin, they will not hold their shape.
- Humidity: Humidity can affect the crispiness of the rosettes. If it’s humid in the kitchen, the rosettes may absorb moisture from the air, making them less crispy. Try to make rosettes on a dry day or in a room with low humidity.
- Storage: If the rosettes are not stored properly, they may lose their crispness. Make sure to store the rosettes in an airtight container once they have cooled down to prevent them from absorbing moisture from the air.
By addressing these issues, you should be able to make crispy rosettes that are delicious and satisfying to eat.
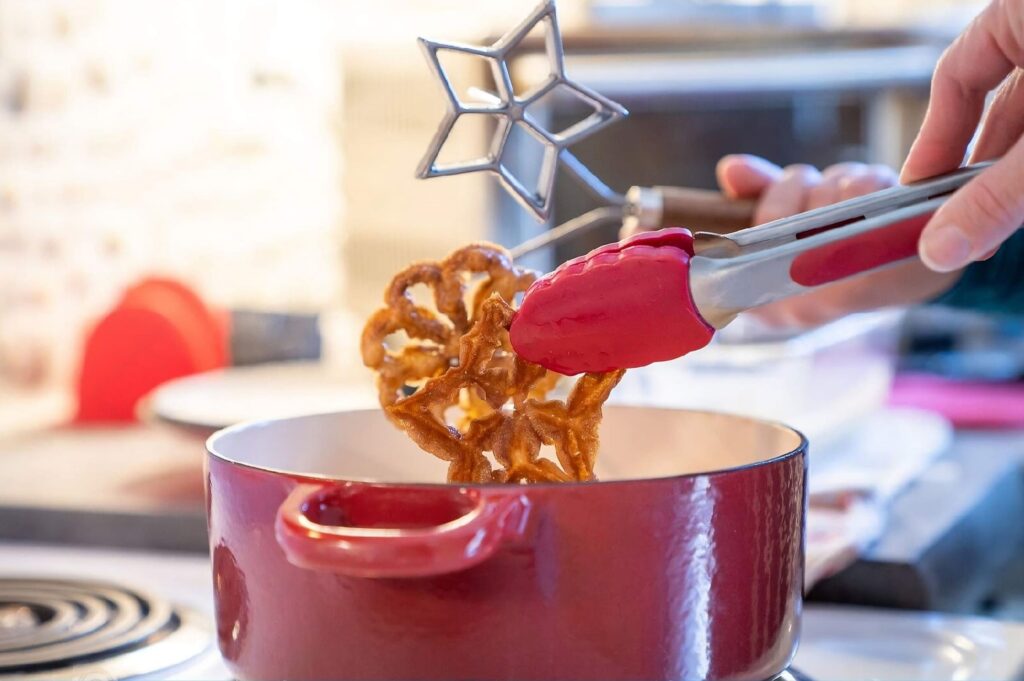
Why are my rosettes not coming off?
If your rosettes are not coming off the iron easily, it could be because the iron is not hot enough. Make sure the iron is heated to the correct temperature, usually around 190°C, before dipping it into the batter. If the batter is not sticking to the iron, it may be too thin. Try adding a little more flour to thicken it up. Additionally, make sure the rosettes are fried until they are golden brown and fully cooked. If they are undercooked, they may be more likely to stick to the iron.
Why are my rosettes oily?
If your rosettes are turning out oily, it could be due to a few reasons:
- The oil is not hot enough: If the oil is not hot enough, the rosettes will absorb more oil, resulting in an oily texture. Make sure the oil is heated to the right temperature, which is around 190°C.
- The batter is too thick: If the batter is too thick, it will take longer to cook and may absorb more oil in the process. To fix this, add a little more milk or water to the batter to thin it out.
- The rosettes are not draining properly: After frying the rosettes, make sure to drain them on paper towels to remove any excess oil. If they are not drained properly, they may retain more oil and become greasy.
- The oil is old: If the oil you’re using is old, it can break down and become rancid, which can affect the texture and taste of the rosettes. Make sure to use fresh oil for frying.
How to store rosettes?
Rosettes are best stored in an airtight container at room temperature. They should be kept away from moisture and heat, as this can cause them to lose their crispiness. Rosettes can last for several days when stored properly, but they are best enjoyed within the first few days of making them. If you live in a humid area, you may want to store them in the refrigerator to help maintain their crispiness. However, be aware that refrigeration can cause the powdered sugar topping to dissolve or clump together, so you may need to re-sprinkle them with powdered sugar before serving if you choose to store them in the fridge.
How to make perfect rosette cookies?
To make perfect rosettes cookies, follow these steps:
- Use our Crispy and Delicious – The Perfect Homemade Rosette Cookies Recipe and make sure you follow the steps.
- Use room temperature ingredients: Ensure that all your ingredients, including eggs, milk, and flour, are at room temperature. This helps to create a smooth batter that sticks well to the rosette iron.
- Use the right rosette iron: Ensure that you are using the right size and shape of the rosette iron for the recipe. Here (UK) you can find some I’m using in my recipe. The rosette iron should be properly heated before using it, and the batter should not cover the top of the iron.
- Fry at the right temperature: Heat the oil or lard to the correct temperature of 190°C. If the oil is too cold, the batter will not crisp up, and if it is too hot, the cookies will brown too quickly and become burnt.
- Drain well: After removing the rosettes from the oil, place them on a paper towel-lined tray to remove any excess oil. This ensures that the rosettes stay crispy and do not become soggy.
- Store correctly: Store the rosettes in an airtight container at room temperature. Place a layer of parchment paper between each layer of cookies to prevent them from sticking together. Do not store them in the fridge or freezer as they will lose their crispiness.
By following these steps, you should be able to make perfect, crispy, and delicious rosette cookies every time.


